Getting the Perfect Fit for Your Team Photos
The WP Team Manager plugin gives you full control over how team member photos are displayed. Depending on your layout (Grid, List, or Table), you may need to adjust the image resolution to ensure your site loads fast and looks sharp.
Method 1: Global Image Settings (Easiest Way)
You do not need to write code to change the default image size. You can adjust the global image resolution directly in your dashboard.
- Navigate to Team > Settings in your WordPress dashboard.
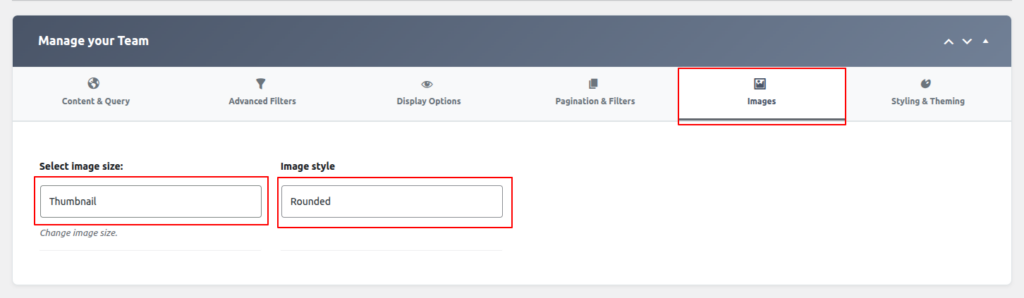
- Locate the Image Size dropdown menu.
- Select the size that best fits your current layout.
- Click Save Changes.
Note: This is a global setting that applies to all team members to ensure a consistent look across your website.

You can also override this settings on Team Generator Builder.
Pro Tip: Tired of Cropping Issues? If your images are cutting off heads or look uneven, changing the “Size” might not be enough. WP Team Manager Pro includes Smart Crop and Aspect Ratio Control (e.g., Square, Portrait, Circle) to fix these issues automatically without any coding.
Understanding the Default Image Sizes
When you select a size in the Global Settings, you are choosing from the standard image sizes registered by your WordPress theme.
- Thumbnail: Best for lists or small compact sections.
- Medium: The standard size; great for most Grid layouts.
- Medium Large: A crisp option for 2-column or 3-column layouts.
- Large: Best for full-width profiles or modal popups.
- Full: Displays the original uploaded image (Warning: Large file sizes can slow down your page).
For developers who need to register completely new custom sizes via PHP, please see the Advanced Developer Hooks section below.
Advance : How to Modify Image Sizes
If you want to customize the available image sizes, you can use the wp_team_manager_image_sizes filter.
Adding a Custom Image Size
To add a custom image size (e.g., “custom-size”) and make it available in the settings dropdown:
1. Open your theme’s functions.php file.
2. Add the following code:
function custom_wp_team_manager_image_sizes($sizes) {
    $sizes['custom-size'] = __('Custom Size', 'wp-team-manager');
    return $sizes;
}
add_filter('wp_team_manager_image_sizes','custom_wp_team_manager_image_sizes');
3. Save the file and refresh your WP Team Manager settings page.
4. Your new size “Custom Size” will now appear as an option.
Ensuring Proper Image Generation
If you’ve added a new image size but it’s not appearing, follow these steps:
1. Regenerate Thumbnails: Use the Regenerate Thumbnails plugin to apply new sizes to previously uploaded images.
2. Verify the Theme or Page Builder Compatibility: Ensure your theme supports the selected image size.